 Bellingham Roofing
 Why Birch Bay Siding Wears Differently Than Inland Homes
Birch Bay sits right on the water, and that changes how siding ages. Homes a few miles inland in Bellingham deal with plenty of rain, but they don't get the steady salt-laden air coming off the bay, the wind-driven rain that hits west and northwest walls at an angle instead of straight down, or the extended damp, low-light stretches that keep north-facing siding wet for days at a time. Add in Whatcom County's long moss season, and you have a combination that finds every weak point in a siding system faster than a typical inland install.
Salt air is corrosive to exposed metal fasteners and trim flashing, especially on the water side of a house. Driving rain pushes moisture sideways into laps, seams, and butt joints that would stay dry in a calmer wind pattern. And moss doesn't just sit on the surface — its root structure holds moisture against the siding face and, over time, against trim and caulk joints, which accelerates rot in wood-based products and finish breakdown in lower-grade composites.
None of that means Birch Bay siding is doomed to fail early. It means repairs have to account for what's actually causing the damage, not just patch what's visible.
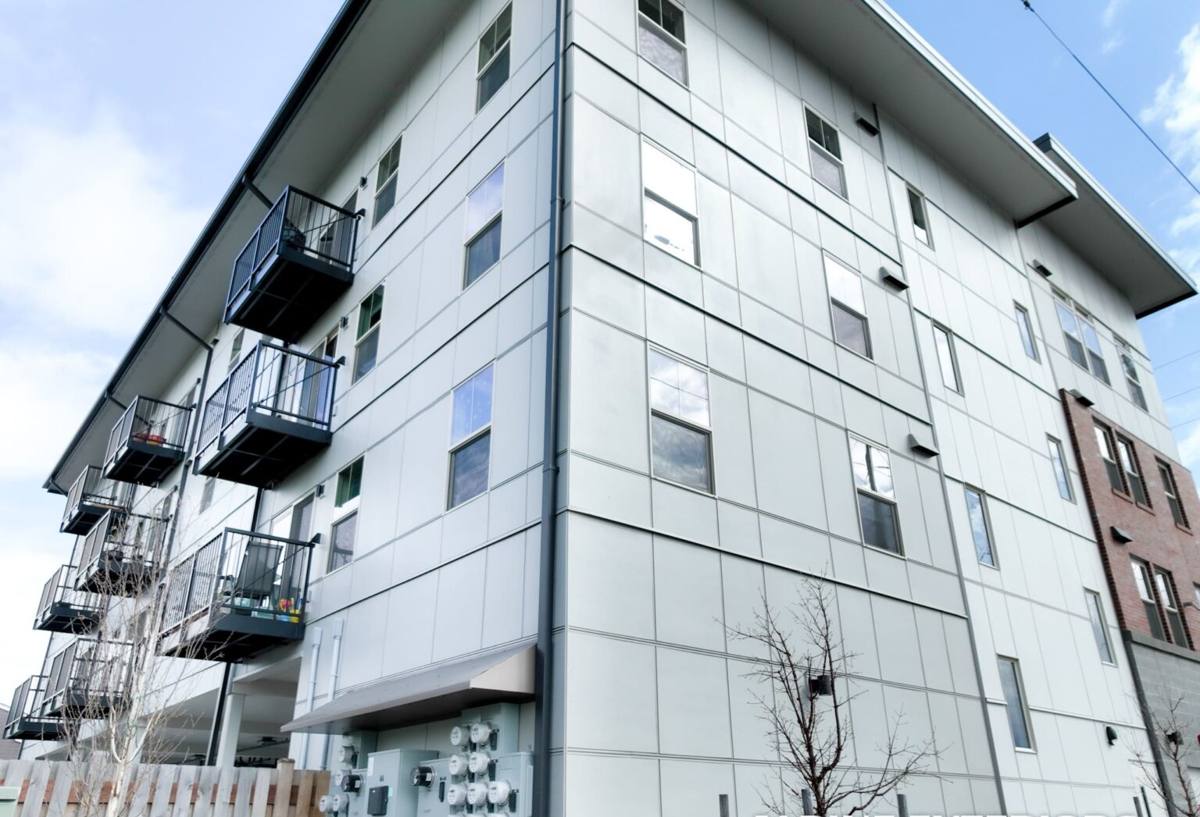
Common Signs a Birch Bay Home Needs Siding Repair
Because of the wind and moisture exposure here, damage often shows up first in a handful of predictable spots: around window and door trim, at the bottom courses closest to grade, along the water-facing elevation, and anywhere two roof planes create a splash zone. A short walk-around once or twice a year catches most problems while they're still cheap to fix.
- Soft or spongy spots when you press on the siding, especially near the bottom few feet
- Visible cracking, splitting, or buckled panels, particularly after a windstorm
- Moss or dark streaking that keeps coming back in the same spot even after cleaning
- Peeling, bubbling, or chalking paint on a specific section rather than the whole house
- Gaps opening up at butt joints, corner trim, or around penetrations like hose bibs and vents
- Rust staining running down from fastener heads or metal flashing
- A musty smell or visible staining on interior walls that back up to an exterior wall
Any one of these by itself might be minor. Several showing up on the same wall usually means moisture has been getting behind the siding for a while, not just sitting on top of it.
What a Correct Repair Actually Involves
Diagnosing what's happening behind the surface
The visible damage is rarely the whole story. Before we replace a single board, we check what's underneath: the condition of the water-resistive barrier, whether flashing at windows and trim is doing its job, and whether the framing or sheathing behind the damaged section has taken on moisture. Patching over a wet wall assembly just hides the problem for a season or two.
Matching material, profile, and finish
A repair should blend in, not stand out. That means matching board width, exposure, and texture, and — where the existing siding is James Hardie with a ColorPlus factory finish — matching the color line correctly instead of hand-painting a patch that will fade differently within a year or two.
Getting the details right, not just the field
Most siding failures near the coast start at the details: flashing above trim boards, kick-out flashing at roof-to-wall intersections, caulking at joints that should be sealed versus laps that should be left to drain, and fastener choice. On a waterfront property, we use corrosion-resistant fasteners and rebuild flashing details to shed wind-driven rain, not just vertical rain.
Repair or Replace? How We Help You Decide
Not every damaged section needs a full re-side, and not every repair is worth doing on its own. The right call depends on how widespread the damage is, what's causing it, and what material is currently on the house.
| Factor | Leans toward repair | Leans toward replacement |
|---|---|---|
| Extent of damage | Isolated section or single elevation | Damage spread across multiple walls |
| Cause | One-time impact or a single failed detail | Systemic moisture intrusion or failed water barrier |
| Existing material | James Hardie fiber cement in good condition elsewhere | Vinyl, LP SmartSide, or wood siding nearing end of service life |
| Age of siding | Under 10-15 years, otherwise sound | Original siding is decades old or already patched multiple times |
| Cosmetic match | Color/profile match is achievable | Discontinued product, no reasonable match available |
We'll tell you honestly which side of that table your house falls on. A well-built repair on a sound Hardie installation can add years of life for a fraction of a replacement cost. But we won't recommend chasing repairs on a wall system that's already failing underneath — that just spends money without fixing the actual problem.
Why We Only Install James Hardie Fiber Cement — Even for Repairs
When we're asked to repair vinyl, LP SmartSide, primed spruce, or cedar siding, we'll do honest, competent work. But we've built our business around installing and repairing James Hardie fiber cement, and in a place like Birch Bay, that's a deliberate choice, not a brand preference.
Vinyl can look fine for years and then crack or bow after a hard freeze-thaw cycle or a strong windstorm off the water, and once it's brittle, patching without visible mismatch gets difficult. Wood-based products, including LP SmartSide, depend heavily on unbroken paint or coating to keep moisture out — in a climate with this much sustained dampness and moss growth, any gap in that coating is an invitation for rot to start from the inside out. Cedar and primed spruce carry that same coating-dependency, plus the ongoing maintenance of refinishing on a schedule.
James Hardie fiber cement is non-combustible, dimensionally stable in wet-dry cycling, and the ColorPlus finish is baked on at the factory rather than field-applied, which means repaired sections can be matched to the original color far more reliably than a repainted patch. It also carries a strong transferable warranty when installed to Hardie's specifications — which is exactly why installation quality matters as much as the product choice.
What this means for your repair
If your existing siding is Hardie, we repair it as Hardie — matching plank width, exposure, and factory color line. If your existing siding is a different material and the damage is limited, we'll repair it honestly and tell you what to watch for. If the damage points to a wall system nearing the end of its life, we'll say so plainly and talk through a Hardie replacement as the long-term fix, not push it as the only option for a minor problem.
Our Process for a Birch Bay Repair Visit
- On-site inspection — we look at the damaged area and the surrounding wall assembly, not just the spot you called about
- Moisture and cause check — probing suspect areas, checking flashing and trim, and identifying whether this is a one-time issue or an ongoing intrusion point
- Clear written scope — what we'll repair, what material and finish we're matching, and what it will cost, before any work starts
- Repair and detail work — replacing damaged material, correcting flashing or fastening issues that caused the failure, and sealing appropriately for a waterfront wind exposure
- Cleanup and walkthrough — confirming the repair blends with the surrounding siding and reviewing simple maintenance steps specific to your home's exposure
Why Local Experience in Birch Bay Matters
A repair crew that mostly works inland jobs can still do competent work, but they may not think first about wind direction off the water, the way salt air accelerates fastener corrosion, or how aggressively moss establishes itself on shaded, moisture-holding walls near the shoreline. Working regularly throughout Whatcom County — from Bellingham out to Birch Bay — means we've seen which details fail first on waterfront exposures and which ones hold up, and we build repairs accordingly instead of applying a one-size-fits-all approach.
Keeping Your Siding in Good Shape After the Repair
- Rinse moss-prone, shaded walls a couple of times a year rather than waiting until growth is heavy
- Keep gutters clear so overflow doesn't run down and pool against lower siding courses
- Trim back vegetation and maintain airflow along walls that stay damp longest
- Have trim, caulking, and flashing points checked periodically, since these fail before the siding field usually does
- Address small issues — a cracked board, a lifted piece of trim — before the next windstorm season rather than after
If you're noticing damage, moss buildup, or soft spots on your Birch Bay home's siding, we're happy to take a look and give you an honest read on what it needs — a straightforward repair, or something bigger. Reach out for a free, no-pressure estimate using the form below.