 Bellingham Roofing
 Safety Comes Before Anything Else
When a windstorm rolls through Whatcom County, the instinct is to run outside and assess the damage the moment it's safe to open the door. Resist that urge until conditions have genuinely settled. Downed power lines, loose siding, and debris still shifting on a wet roof are more dangerous than most homeowners expect, and a fall from a ladder onto wet pavement causes far more serious injuries than the roof damage itself ever would.
Once the wind has died down and rain has let up, do a walk-around from the ground only. Look for obvious signs: shingles in the yard, dented gutters, a satellite dish hanging loose, or debris caught against the chimney flashing. Do not climb onto the roof yourself, even if it looks stable from below. Storm-damaged roofs can have hidden soft spots, and a roof that held under wind load may not hold under foot traffic.
When to Call for Emergency Help
If you can see daylight through the roof deck from inside the attic, if water is actively coming through a ceiling, or if a tree limb has punched through the roofline, that's an emergency situation. Get a tarp over the opening if you can safely reach it from a stable ladder without walking on the roof surface, and call a roofing contractor the same day. Waiting even a day or two on an open penetration can turn a single-area repair into a full deck replacement once insulation and framing get soaked.
What Actually Counts as Storm Damage
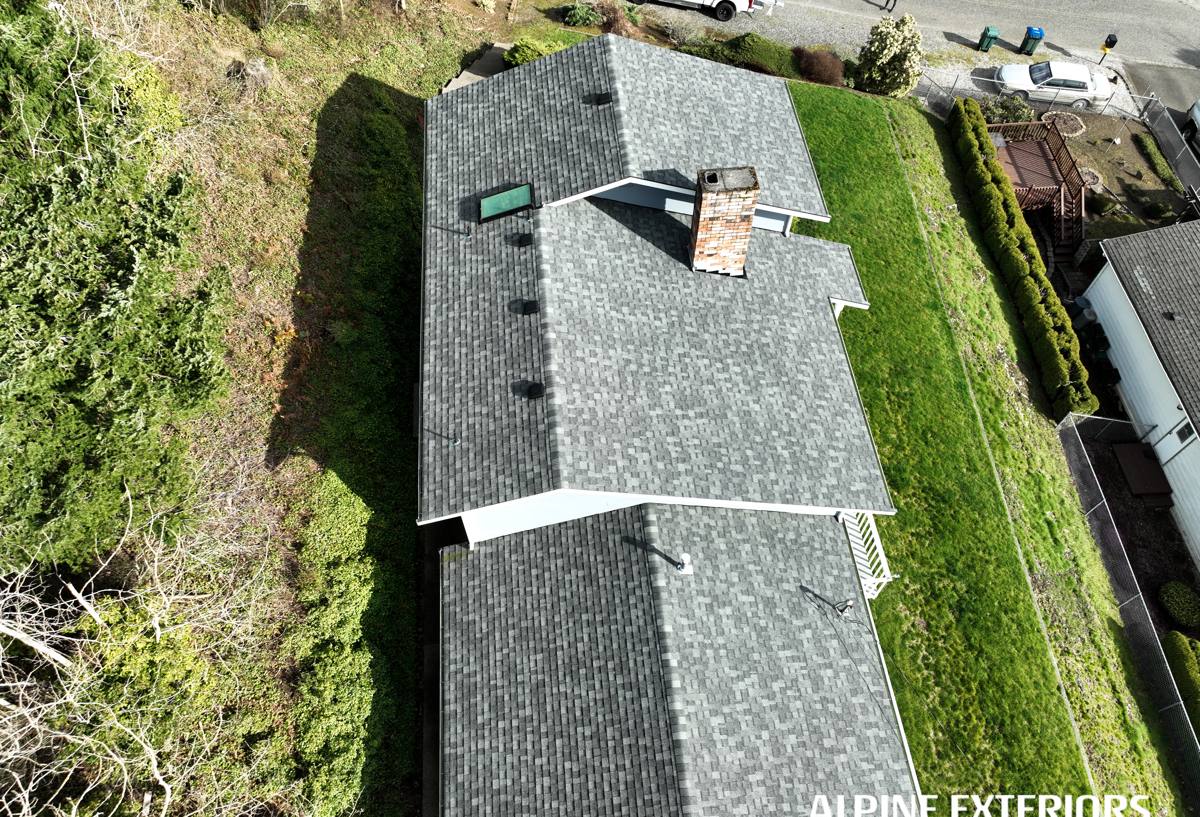
Not every mark on a roof after a windstorm is storm damage, and knowing the difference matters both for your own decision-making and for how an insurance adjuster will look at the claim. Genuine wind and storm damage tends to show up as a sudden, dateable event: shingles physically lifted or torn off, creased shingles from wind uplift, gutters pulled away from fascia, flashing bent or displaced, or impact damage from falling branches and debris.
What often gets mistaken for storm damage is roofing that was already failing and simply gave way under normal wind loads it should have handled. Brittle, sun-cracked shingles, granule loss from age, or moss-lifted shingle tabs are wear-and-tear conditions, not storm events, even if the failure becomes obvious right after a storm. This distinction is the first thing an insurance adjuster checks, and it's worth understanding before you call your carrier, so you know what to expect.
Wind vs. Rain vs. Moss: Different Damage, Different Signs
| Damage Type | What It Looks Like | Common Cause Locally |
|---|---|---|
| Wind uplift | Shingles creased, lifted, or missing along ridges and edges | Gusts off the Strait combined with unsealed or aging shingle tabs |
| Wind-driven rain intrusion | Interior stains, damp attic insulation, water at window or vent flashing | Driving rain forced sideways under flashing or worn seals |
| Moss-related lifting | Shingle tabs raised, granule loss, soft or spongy roof deck areas | Long, damp Whatcom County moss season holding moisture against the roof surface |
| Impact damage | Punctures, cracked shingles, dented metal flashing or vents | Falling limbs from mature trees common in Bellingham neighborhoods |
Document Everything Before You Clean Up
Before you touch a single branch or sweep a single shingle off the driveway, take photos and video. This is the step people skip because they're in cleanup mode, and it's the step that causes the most friction later with insurance. Adjusters work off what they can verify, and a roof that's already been cleaned and patched gives them nothing to look at except your word.
- Photograph the roof from the ground at multiple angles, including wide shots that show the whole roofline and close-ups of visible damage
- Photograph debris in the yard before moving it, especially any branches or objects that appear to have caused impact damage
- Check the attic with a flashlight for water stains, damp insulation, or daylight coming through the deck, and photograph what you find
- Note the date and approximate time of the storm, since insurance claims are tied to a specific weather event
- Keep any receipts for emergency tarping, temporary repairs, or water cleanup — these are typically reimbursable
- Do not throw away damaged materials until your contractor or adjuster has had a chance to see them
Emergency Tarping and Temporary Repairs
If you have an active leak or an exposed section of roof deck, a temporary tarp is meant to buy time, not fix the problem. A properly installed tarp is secured under the shingle courses above the damage and weighted or fastened at the edges so wind doesn't get underneath it and tear it loose, which is exactly what happens with a tarp thrown over the ridge and taped down. This is one of the more common reasons we get called back out within a day or two of a storm — a homeowner or handyman tried to tarp it themselves and the wind simply took it off again that night.
If you're not confident doing this safely from a ladder, it's worth the call to have a contractor handle the tarp even before a full repair is scheduled. A few hundred dollars in emergency service is a lot cheaper than a second round of water damage to drywall, insulation, and framing.
Insurance Claims: What Actually Happens
Most homeowner policies in Washington cover sudden wind and storm damage, but the process has a rhythm worth knowing before you're in the middle of it. First, you file the claim and get a claim number. An adjuster is then assigned and will typically want to inspect the roof, either in person or sometimes through photos and a virtual inspection for smaller claims. Their job is to determine whether the damage matches a covered storm event and to scope what repairs cost.
It's reasonable, and common, to have your roofing contractor present during or after the adjuster's inspection, or to walk the adjuster through what your contractor already documented. Contractors see storm damage constantly and can point out things an adjuster might miss on a quick pass, particularly on complex rooflines or areas that require attic access to fully understand.
Where Homeowners Get Tripped Up
The most common issue isn't fraud or dishonesty — it's timing and scope disagreements. An adjuster may approve repair of the damaged section but not agree to replace an entire slope or the full roof, even if the shingles are old enough that matching materials aren't available. That's a legitimate negotiation point worth raising, especially with older roofs, but it's not guaranteed. Get any settlement offer in writing and don't sign a final release until repairs are actually scheduled and scoped with your contractor.
Repair or Replace: What Actually Drives the Decision
Storm damage doesn't automatically mean a full roof replacement, and honestly, most wind events we see around Bellingham result in a localized repair — a section of shingles, a run of flashing, a damaged vent boot. Whether a repair makes sense or a full replacement is the better call comes down to a few honest factors.
| Factor | Favors Repair | Favors Replacement |
|---|---|---|
| Roof age | Under 10-12 years, shingles still flexible | Approaching or past 20 years, granules heavily worn |
| Extent of damage | Isolated section or single slope | Damage spread across multiple slopes or the ridge |
| Material availability | Matching shingles still in production | Discontinued color or profile, visible patchwork |
| Underlying deck condition | Deck dry and solid where exposed | Soft, delaminated, or moisture-damaged decking found |
| Moss and wear history | Minimal prior moss lifting or granule loss | Long-term moss damage already compromising the roof |
A straightforward wind repair on a healthy roof is usually a one-to-few-day job. Full replacement is a bigger undertaking and a bigger cost, and any contractor who tells you which one you need without actually getting on the roof and checking the deck is guessing.
Avoiding Storm-Chaser Contractors
After any significant windstorm in the region, it's common to see unfamiliar trucks going door to door offering free inspections and pushing for a signature on the spot. Some of these companies are legitimate crews following the work. Plenty aren't local, won't be around for a warranty call in two years, and use high-pressure tactics that don't leave room for you to get a second opinion.
- Ask for a physical business address and how long the company has worked in Whatcom County, not just a phone number
- Verify the contractor's Washington state contractor license and current insurance before signing anything
- Be cautious of anyone who wants you to sign a contract before an adjuster has even seen the damage
- Get a written, itemized estimate rather than a verbal price
- Ask what the workmanship warranty covers and who honors it if the crew that did the work isn't around next year
- Trust your instinct if someone is pushing you to decide today — legitimate storm repair work can wait for you to make a phone call and compare
Living With Bellingham's Weather Long-Term
Storm damage here rarely happens in isolation from the region's broader climate pattern. The salt air off the water accelerates corrosion on exposed metal flashing and fasteners over time, driving rain finds any gap in flashing or underlayment that a drier climate would never expose, and the long moss season keeps roofs damp for months at a stretch, softening shingles and holding moisture against the deck. A roof that's already dealing with moss lift or salt-corroded flashing is simply more vulnerable when the next windstorm comes through, which is part of why regular roof maintenance and moss treatment matter as much as storm response itself.
If a storm just came through and you're not sure whether what you're looking at is a quick repair or something bigger, we're happy to come take an honest look. A free, no-pressure estimate gets you a clear picture of what's actually damaged, what it'll take to fix it, and what to expect if you're filing an insurance claim — no obligation to move forward with us just because we came out.