 Bellingham Roofing
 New-Construction Windows in Happy Valley: What This Job Actually Covers
"New-construction windows" is a specific category of window work, not just a fancy name for "new windows." It refers to windows built with a nailing fin (or flange) around the frame, installed into a wall opening that's been stripped to the studs — a new build, a room addition, a garage conversion, or a full re-side where the siding and house wrap are coming off anyway. That's different from a retrofit or "pocket" replacement, where the old frame stays in the wall and a new window is fit inside it. In Happy Valley we see both ground-up builds and additions or renovations where homeowners are opening walls for other reasons, and it makes sense to switch to full new-construction windows while everything is exposed.
Because the wall is open, this work is really about the assembly around the window — the flashing, the water-resistive barrier, the sealant, and how the window ties into the rest of the building envelope — as much as it is about the window unit itself. Get that assembly wrong and the window itself, no matter how good, won't keep water out.
Why Bellingham's Marine Climate Changes the Approach
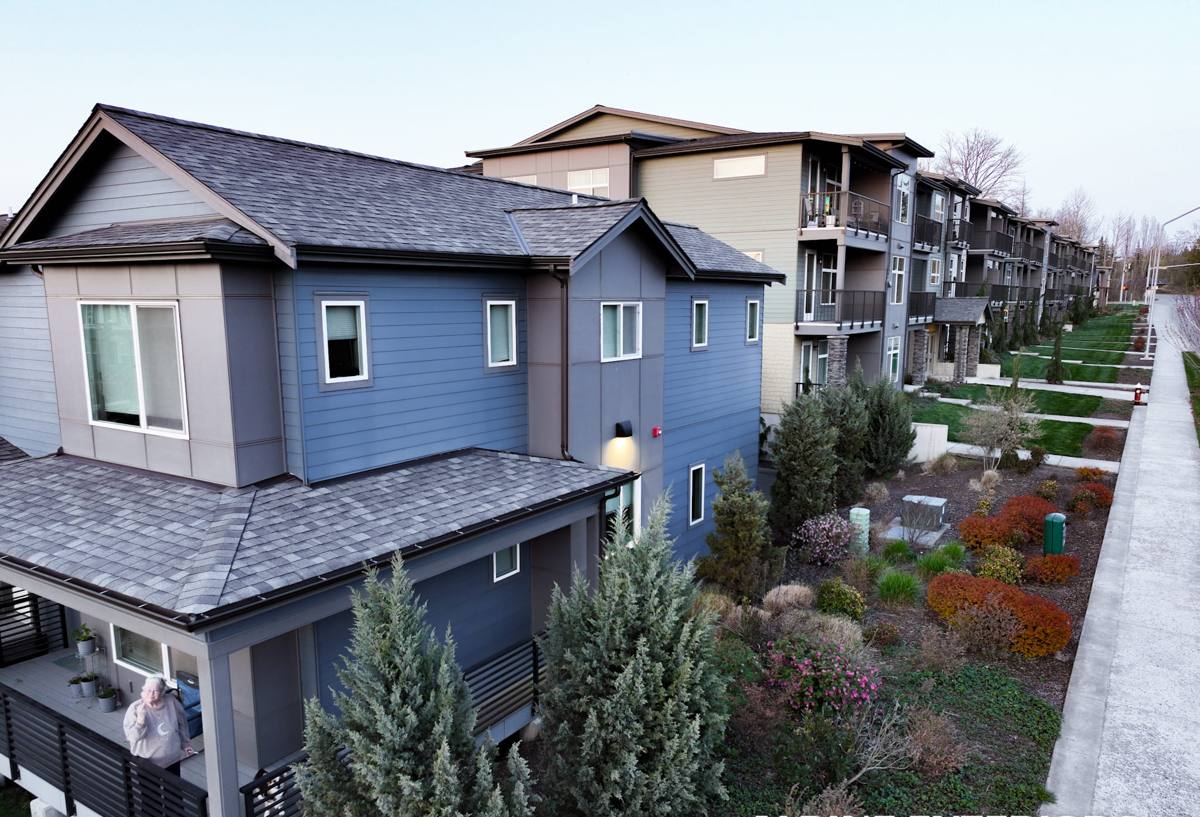
Happy Valley sits within Bellingham's marine climate zone, and homes here deal with a specific combination: salt-laden air off the bay, wind-driven rain that hits walls at an angle instead of falling straight down, and long stretches of damp, low-sun weather that keep exterior surfaces wet for days at a time. None of that is exotic to us — it's the baseline we build to. But it does mean a window assembly that would pass in a drier inland climate isn't automatically adequate here.
Driving rain in particular is the reason flashing sequencing matters more here than in a lot of the country. When rain hits a wall sideways instead of straight down, water finds its way behind trim, under fins, and into any gap in the water-resistive barrier that isn't lapped correctly. Salt air accelerates corrosion on unprotected fasteners and lower-grade metal flashing, and Whatcom County's long moss season keeps exterior wood trim, sills, and window surrounds damp enough for algae and moss to take hold if they aren't detailed and finished correctly.
New-Construction vs. Replacement Windows: Which One Your Project Needs
We get asked fairly often whether a project needs new-construction windows or standard replacements. The honest answer depends on whether the wall is already open.
| Factor | New-Construction Windows | Replacement (Pocket) Windows |
|---|---|---|
| Wall condition | Studs exposed, siding and house wrap removed or not yet installed | Existing wall and siding stay in place |
| Best for | New builds, additions, full re-sides, room conversions | Swapping out old windows without disturbing siding |
| Flashing access | Full access to sill, jambs, and head — flashing done to current best practice | Limited — relies mostly on what's already there |
| Typical timeline | Tied to the framing and siding schedule | Usually a single day per window |
| Long-term water management | Strongest, since the whole assembly is rebuilt | Good if the existing opening is sound; limited if it isn't |
If your project already has an open wall for another reason — an addition, a rebuild, a re-side — it's almost always worth using new-construction windows and doing the flashing right while everything is accessible. Closing that wall back up with a pocket window installed on top of old, unknown flashing is a missed opportunity.
What a Correct New-Construction Installation Includes
The window unit itself is usually the easy part. The sequence around it is where quality shows up years later. A correct install, in order, looks like this:
- Sill pan flashing installed first, with end dams, so any water that gets past the window has a sloped path back out of the wall instead of soaking into the framing.
- Water-resistive barrier (house wrap) integrated with the rough opening before the window goes in — not just taped around it afterward.
- Window set, leveled, and shimmed correctly so the frame isn't racked, which affects how well it seals and operates for years.
- Jamb flashing applied over the nailing fin on the sides.
- Head flashing installed last and shingled over the jamb flashing and house wrap above it, so water sheds down and over every layer below it — never trapped behind a layer.
- Sealant placed only where it belongs — typically the top of the nailing fin, never along the bottom, which needs to stay open as a drainage path.
- Insulation around the frame gap and interior air-sealing, so the assembly performs for energy efficiency as well as water management.
Skip or reorder any of those steps and the window can still look fine on install day while quietly setting up a leak that shows up during the next big wind-driven storm.
Frame and Glass Options Worth Considering for This Climate
There's no single "right" window brand for a Happy Valley project — the right choice depends on budget, the style of the home, and how much upkeep you want to take on. What we do steer clients toward is frame materials and glass packages that hold up to years of damp, salt-tinged air without a lot of babysitting.
| Frame Material | Moisture / Salt-Air Resistance | Maintenance | Typical Fit |
|---|---|---|---|
| Vinyl | Good — won't rot or corrode | Low; occasional cleaning | Most new-construction budgets |
| Fiberglass | Very good; dimensionally stable through temperature swings | Low | Higher-end builds, larger openings |
| Aluminum-clad wood | Good exterior protection if cladding and seals stay intact | Moderate; watch cladding seams over time | Traditional or architectural styles |
| Bare wood | Requires diligent finishing to resist this climate | High; regular refinishing needed | Historic-style homes, by owner preference |
On glass, a dual-pane, low-E unit with argon fill is a reasonable baseline for the marine climate — it manages condensation and heat loss well without adding cost that doesn't pay back. Triple-pane makes more sense on north-facing or particularly exposed elevations where wind load and heat loss are higher, but it's not something we push everywhere by default.
Our Process for Happy Valley New-Construction Projects
Every project is a little different, but the shape of the work stays consistent:
- Site visit and measure. We walk the openings (or the plans, if the home isn't framed yet), talk through your priorities, and take precise measurements.
- Product selection. We go over frame material, glass package, and configuration options based on your budget and the home's design.
- Scheduling around the build. If we're working alongside a builder or general contractor, we coordinate our install window with the framing and siding schedule. If it's a standalone project, we schedule around weather — driving rain and open wall cavities don't mix, so we watch for a dry install window rather than forcing it.
- Installation. Flashing, window setting, and sealing are done in the sequence described above, with the opening protected from weather at every stage that isn't yet weathertight.
- Final check. We inspect every opening for level, square, proper drainage path, and correct sealant placement before we call the job done.
Mistakes We Find (and Avoid) in New-Construction Window Work
Because we get called in on additions and repairs as well as new installs, we regularly see how earlier work was done — sometimes ours, sometimes someone else's. The recurring problems are almost always the same handful of shortcuts:
- Sealant run along the bottom of the nailing fin, trapping any water that gets past the window instead of letting it drain back out.
- House wrap taped over the fin instead of properly lapped, so water runs behind the barrier instead of over it.
- Head flashing skipped or installed under the jamb flashing instead of over it, reversing the shingle-lap water needs to shed correctly.
- Openings left exposed during a stretch of driving rain, soaking framing that then gets closed up wet.
- Low-grade fasteners or flashing tape not rated for long-term salt-air exposure, corroding or losing adhesion years before the window itself would have failed.
None of these show up on the day of installation. They show up two, five, or ten winters later, which is exactly why the sequence matters more than the window brand.
Questions Worth Asking Before You Hire
Whether you're comparing us to another crew or just want to know what a solid new-construction window job should include, this is a fair checklist to run through with any contractor:
- Do you install sill pan flashing with end dams on every opening, or only when asked?
- How do you sequence house wrap and flashing tape around the nailing fin?
- Where does sealant go — and where does it specifically not go?
- What happens if weather turns while a wall is open?
- Can you walk me through your process for this specific job, not just hand me a brand brochure?
- Are you pulling permits and scheduling inspections where required for the scope of work?
A contractor who can answer these clearly, without hesitating, has done this enough times to know why each step matters.
Why It Matters to Hire a Crew That Already Works in Happy Valley
New-construction window installation isn't a different trade in Happy Valley than it is anywhere else, but the margin for error is smaller here because of the climate. A crew that regularly works Whatcom County homes has already made the adjustments that matter: flashing details sized for wind-driven rain, material choices that hold up to salt air without high upkeep, and enough familiarity with local permitting and inspection expectations to keep a project moving instead of stalling on paperwork. That local repetition is what turns "installed correctly" into "installed correctly for this specific climate" — which is the part that actually gets tested every winter.
If you're planning new construction, an addition, or a re-side in Happy Valley and want to talk through your window options, we're happy to take a look and put together a straightforward, no-pressure estimate — just fill out the form below.