 Bellingham Roofing
 New-Construction Windows for Birch Bay Homes
Birch Bay sits right on the water, which means every window opening in a new build there is fighting a different battle than a window opening ten miles inland in Bellingham. Salt-laden air, wind-driven rain off the Strait of Georgia, and a long, damp moss season put real stress on window units, flashing, and the framing around them. New construction is the one point in a home's life where you get to do this right the first time — before siding, trim, and drywall cover up the details that determine whether a window lasts twenty years or leaks in five.
This page covers what new-construction window installation should look like specifically for a Birch Bay build: what the local climate demands, how a correct installation is sequenced, what it costs to do well, and why the crew you hire matters as much as the window brand you pick.
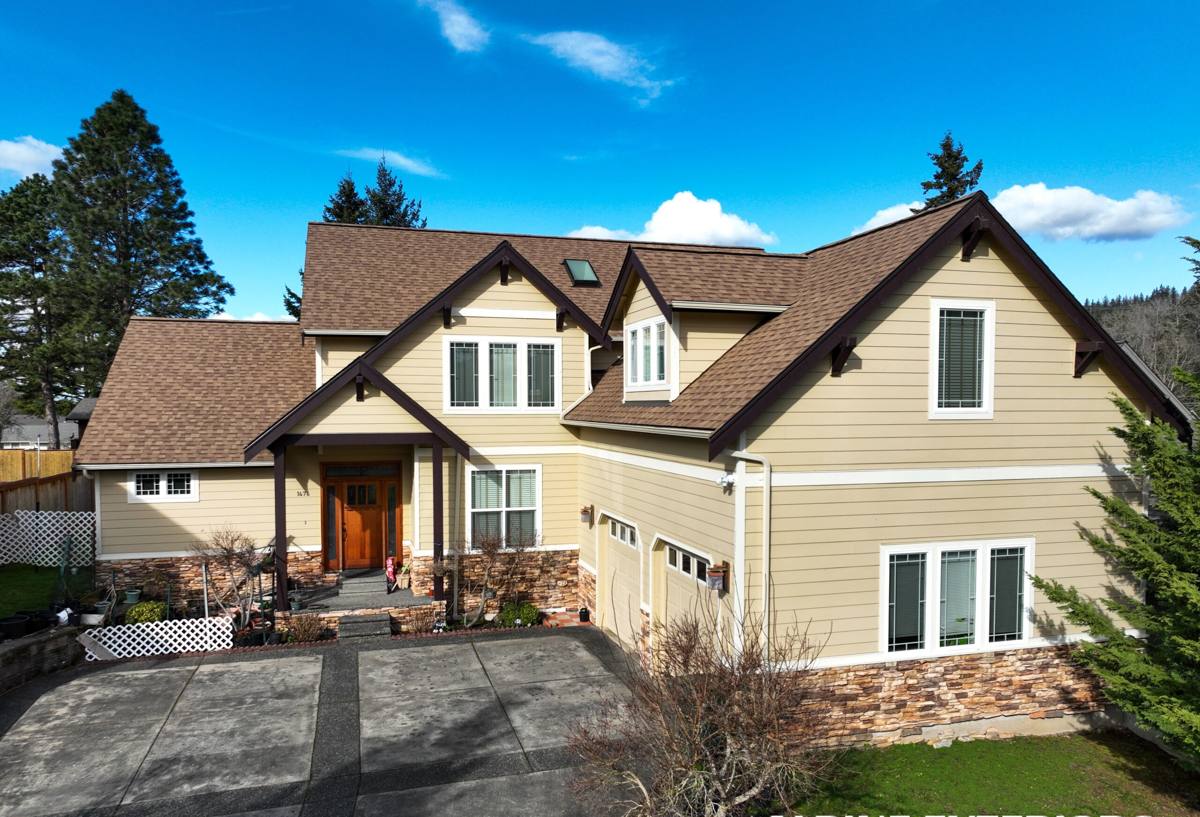
What Birch Bay's Climate Does to Windows Over Time
Whatcom County gets plenty of rain, but Birch Bay's exposure adds a few extra variables that inland Bellingham neighborhoods don't deal with as much:
- Salt air corrosion. Airborne salt from the bay accelerates corrosion on exposed fasteners, cheap cladding, and lower-grade hardware. Over years, this shows up as pitting, streaking, and stiff or failing locks and rollers.
- Driving rain. Wind off the water doesn't just fall on a window — it pushes rain sideways into the gap between the window unit and the rough opening. If flashing and sealant details aren't correct, water finds its way behind the siding and into the wall assembly.
- A long moss and mildew season. Shade, moisture, and mild temperatures for much of the year let moss and algae establish on sills, trim, and cladding that don't drain and dry properly. This is more of a maintenance and appearance issue than a structural one, but it's a sign of a wall system that isn't shedding water the way it should.
- Temperature swings and condensation. Cool, humid coastal air combined with interior heating in winter can produce condensation on lower-quality glass packages or poorly sealed frames, which over time contributes to sill rot if it's not addressed.
None of these are exotic problems — they're just the normal cost of building this close to the water. The fix isn't a special "coastal window" gimmick; it's choosing durable materials and installing them with the right sequence and details.
What a Correct New-Construction Window Installation Involves
New-construction windows (as opposed to retrofit or "pocket" replacement windows) have a nailing fin and get installed into a framed rough opening before the exterior finish goes on. That gives us full access to the opening, which is the whole advantage of doing it at this stage — but only if the sequence is followed correctly.
Flashing pan and sill protection
Every rough opening should get a sloped flashing pan or sill pan before the window ever goes in. This is the single most important detail on a coastal build like Birch Bay — it's the backup layer that carries water back outside if it ever gets past the window itself. Skipping this or improvising with sealant alone is a common shortcut that shows up as rot years later, usually right when it's expensive to fix.
Weather-resistive barrier integration
The window's flanges need to be integrated into the house wrap or weather-resistive barrier in the correct shingle-lap order — sill first, then jambs, then head — so that water draining down the wall surface is always directed over the top of each layer below it, never trapped behind it. On a home exposed to driving rain, this layering is what actually keeps water out; the window unit itself is only part of the system.
Fastening, shimming, and squaring
The window has to be set plumb, level, and square in the opening, shimmed at the manufacturer's specified points, and fastened per the manufacturer's instructions — not just nailed around the flange until it feels secure. An out-of-square window stresses the sash and hardware from day one, which shows up later as windows that are hard to open, don't latch cleanly, or wear out their rollers and locks early.
Sealant, backer rod, and interior air sealing
Exterior sealant should never be the only line of defense — it's the last layer, not the first. Interior air sealing (low-expansion foam or backer rod and sealant around the shim space) matters just as much for keeping moist interior air from condensing inside the wall cavity.
Choosing the Right Window for a Birch Bay Build
There's no single "correct" window brand for every project — it depends on budget, design goals, and how much maintenance the homeowner wants to take on. Here's how the common frame materials generally compare for a coastal Whatcom County build:
| Frame Material | Salt Air / Moisture Behavior | Maintenance | Typical Lifespan |
|---|---|---|---|
| Vinyl | Won't corrode; UV and heat cycling can affect long-term seal performance | Low — occasional cleaning | 20-30 years |
| Fiberglass | Very stable dimensionally, handles moisture and temperature swings well | Low | 30-40+ years |
| Wood (unclad) | Attractive but needs consistent upkeep near salt air and rain exposure | High — regular finishing/painting | Varies widely with maintenance |
| Wood-clad (aluminum or fiberglass exterior) | Good — cladding shields the wood from direct weather exposure | Moderate | 25-40 years |
| Aluminum | Prone to corrosion pitting in salt air unless properly coated/anodized | Low to moderate | Varies by coating quality |
For a home right on Birch Bay's shoreline, we generally steer homeowners toward vinyl, fiberglass, or well-clad wood, simply because they hold up with the least upkeep against salt air and driving rain. Unclad wood can still be the right call for a specific architectural look, but it's an honest trade-off — it needs a maintenance commitment that fiberglass or vinyl doesn't.
Glass packages matter too. In this climate, a good low-E, argon-filled dual-pane (or triple-pane, for homes wanting extra performance) helps control condensation and keeps energy bills down through Whatcom County's wet, mild winters.
Our New-Construction Window Process
- Rough opening check. We verify every opening is framed square, correctly sized, and structurally sound before a single window arrives on site.
- Sill pan and flashing install. Sloped sill pans go in first, integrated with the house wrap in the correct water-shedding order.
- Window setting. Units are set plumb, level, and square, shimmed at manufacturer-specified points, and fastened per spec — not just "nailed and moved on."
- Head flashing and WRB lap. Head flashing goes in last, lapped over the side flanges, so water draining down the wall always moves outward, never behind the barrier.
- Interior and exterior sealing. Interior air sealing and exterior sealant/backer rod are applied per manufacturer requirements, not guesswork.
- Final check. We confirm operation, squareness, and weatherproofing details before the opening gets covered by siding and trim.
Cost Factors for New-Construction Windows in Birch Bay
Every build is different, but the main variables that move the price on a new-construction window package are the same ones we walk through with every homeowner:
| Factor | Why It Matters |
|---|---|
| Frame material | Vinyl is generally the most budget-friendly; fiberglass and clad wood cost more up front but carry lower long-term maintenance |
| Glass package | Upgraded low-E coatings, gas fills, and triple-pane options add cost but improve comfort and condensation resistance |
| Window size and count | Larger view windows and higher window counts increase both material and labor cost |
| Opening complexity | Bay windows, custom shapes, and tall openings take more time to flash and install correctly |
| Site access and timing | Coordinating install around framing and weather windows on an active job site affects scheduling and labor |
Rather than quoting a number that doesn't mean much without seeing the plans, we walk the drawings (or the framed openings, if the home is already up) and give a real, itemized estimate based on what your build actually needs.
Common Mistakes We See in Coastal New Construction
Most window problems we get called out to fix in Birch Bay and other waterfront Whatcom County neighborhoods trace back to a handful of avoidable shortcuts:
- No sloped sill pan — relying on caulk alone to keep water out of the sill
- House wrap lapped in the wrong order around the window flange, sending water behind the barrier instead of over it
- Windows set out of square, causing early hardware wear and air leaks
- Exterior sealant used as the only weatherproofing layer, with no interior air sealing
- Fasteners or trim that aren't rated for salt-air exposure, leading to early corrosion and staining
- Window schedule mismatched to actual rough openings, causing gaps that get "solved" with excess shim and sealant
Every one of these is fixable if caught during construction, and expensive to fix once siding and interior finish are in place. That's exactly why the installation sequence matters more than which brand of window ends up in the opening.
Why a Crew That Already Works Birch Bay Matters
Window installation itself isn't unique to Birch Bay — the skills transfer anywhere. What's different is knowing how much exposure a given lot actually gets, how the local moisture and salt-air conditions tend to age different materials, and building in the extra margin that a shoreline property needs versus a more sheltered inland lot. A crew that's done multiple builds in this specific stretch of Whatcom County has already seen what holds up here and what doesn't, and brings that judgment to your flashing details, fastener choices, and sealant selection without you having to ask for it.
It also means fewer surprises during scheduling — we know how weather windows and site access typically play out on Birch Bay builds, and we plan the install accordingly instead of learning it on your job.
Ready for a Straight Answer on Your Windows?
If you're framing a new build in Birch Bay and want the window package done right the first time, we're happy to walk your plans or your framed openings and give you a clear, no-pressure estimate. Use the form below to get started.