 Bellingham Roofing
 Siding Installation for a Bay-Facing Climate
Birch Bay sits directly on the water in northern Whatcom County, and that location changes what a siding installation needs to hold up against compared to homes even a short distance inland. Salt-laden air comes off the bay steadily, rain arrives wind-driven rather than falling straight down, and shaded or north-facing walls stay damp long enough to grow moss for most of the year. A siding installation that would perform fine in a calmer, drier setting can start showing problems within a few winters out here if the material and the install detail aren't matched to what this specific stretch of coastline actually does to a wall.
We install James Hardie fiber cement siding exclusively in Birch Bay, and every part of how we approach a job here — material prep, fastening, flashing, sequencing — is built around this bay-facing exposure specifically, not a generic install standard written for a different climate.
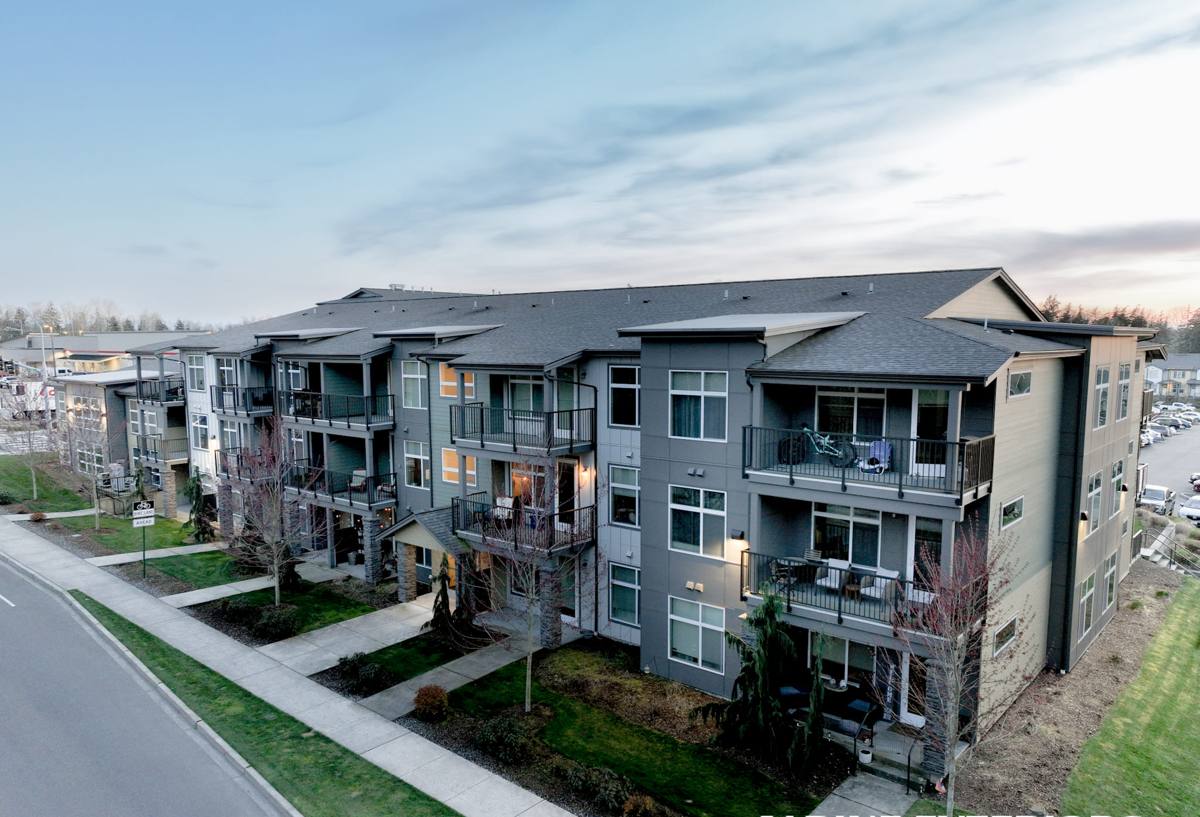
What Birch Bay Homes Need From a Siding Installation
Salt Air and Fastener Corrosion
Direct exposure to salt-laden marine air is harder on exposed metal than most homeowners expect. Fastener heads, flashing, and trim hardware all corrode faster near the water than they do a few miles inland, and that corrosion doesn't stay cosmetic — a corroding fastener eventually loosens its grip on the siding it's holding. Getting fastener type, coating, and spacing right at install time matters more here than in most other parts of Whatcom County.
Wind-Driven Rain at Every Seam and Opening
Waterfront exposure means more wind, and wind pushes rain sideways into seams, laps, and window and door openings instead of letting it run straight down and off the wall. A siding installation that only accounts for water falling vertically will eventually let water in horizontally — at a lap that wasn't given enough overlap, or a window flashing that wasn't sequenced correctly with the weather-resistive barrier underneath.
A Moss Season That Runs Most of the Year
Mild temperatures and near-constant moisture add up to a long moss and mildew season on shaded walls across this part of the county. Any siding surface that's even slightly porous, or any installation that traps moisture against the substrate instead of letting it dry, becomes a growth surface over time. North-facing walls and anything shaded by trees or a neighboring structure typically need more attention during installation than sun-exposed walls.
Why We Install Only James Hardie in This Location
Birch Bay's combination of salt exposure, wind-driven rain, and sustained dampness is a tougher test for siding than most inland settings. That's a meaningful part of why we standardized on one material system instead of offering several.
| Material | Behavior in Salt Air & Wind-Driven Rain | Maintenance in This Climate | Realistic Lifespan |
|---|---|---|---|
| James Hardie fiber cement | Dimensionally stable; doesn't swell, cup, or rot from moisture exposure | Low; factory finish resists moss and salt-driven fading | 30+ years with proper install |
| LP SmartSide (engineered wood) | More sensitive to moisture at cut edges and fastener penetrations | Moderate; edge sealing needs regular upkeep near salt air | 15-25 years, climate-dependent |
| Vinyl | Can warp, gap, or become brittle under sustained wind and temperature swings | Low, but trapped moisture behind it is hard to catch early | 20-30 years, variable |
| Cedar | Absorbs moisture readily; salt air accelerates weathering of unsealed surfaces | High; recurring sealing or repainting cycle | 15-25 years with consistent upkeep |
Those are legitimate products, and other contractors install them competently. Our decision not to is a professional standard, not a claim that they can't work anywhere. On a bay-facing property, Hardie's non-combustible fiber cement core and factory-applied ColorPlus finish give it a real advantage: it doesn't expand and contract with moisture the way wood-based products do, and the factory finish means the field-primed cut edge is the exception on a job, not the rule.
What a Correct Installation Actually Involves
The finished look of a siding job is simple to judge from the driveway. What determines whether that wall still looks and performs the same way in twenty years happens underneath, before the last board goes up:
- House wrap or weather-resistive barrier installed and correctly lapped before any siding goes on, with extra attention at seams facing the prevailing wind and rain
- A drainage gap or rainscreen behind the siding so moisture that does get past the surface has somewhere to go instead of sitting against the wall
- Corrosion-resistant fasteners, sized and spaced to Hardie's published installation requirements for this climate zone
- Correct lap and clearance at every horizontal joint, sized for wind-driven rain rather than a minimum spec
- Flashing sequenced correctly at windows, doors, and corners — installed in the right order relative to the weather barrier, not just caulked after the fact
- Factory-cured ColorPlus finish preserved by cutting boards face-down and priming any field-cut edges before they go on the wall
Skip any one of these steps and the wall can look correct on install day and for a year or two after. The problems that show up when a step gets skipped — staining at seams, soft spots near the base, paint or finish failure at trim — usually take a wet season or two to surface, which is exactly why they're easy for a rushed install to get away with until the homeowner is the one dealing with it.
Our Process for a Birch Bay Siding Installation
Walkthrough and Assessment
We start by walking the specific walls involved — which ones take direct wind and salt exposure off the water, which are shaded and slower to dry, and whether the existing wall assembly has moisture issues that need addressing before new siding goes up. New siding over a wall with hidden rot or inadequate drainage just buries the same problem.
Planning the Detail Work Before Install Day
We work out flashing sequencing, lap details, and how the siding will meet windows, trim, and corners before crews start cutting material. On a property this exposed to wind and salt, deciding these details on paper first avoids field improvisation, which is where corners tend to get cut on a rushed job.
Installation to Manufacturer Spec
Every fastener, lap, and flashing detail follows James Hardie's published installation requirements for this climate zone, not a generic national standard. That's what keeps the manufacturer's warranty intact, and it's also what determines whether the wall performs the way it's supposed to for decades rather than years.
Final Walkthrough
We walk the finished job with you, cover what little maintenance this material actually needs in a climate like this, and make sure you know what a properly installed wall should look like if you ever want to check it yourself down the road.
What We Commonly Find on Older Birch Bay Homes
A fair number of siding installation projects out here start as a repair or a replacement, not new construction, and older homes on and near the water tend to show a consistent set of issues once the old siding comes off: fastener corrosion further along than the surface suggested, moisture-softened sheathing at the base of walls or around window openings, and moss or mildew staining that's been coming back faster than routine cleaning could keep up with. None of that is unusual for a bay-facing property — it's what sustained salt air and wind-driven rain do to a wall assembly over enough years. It's also exactly why we open the wall up and assess the substrate as part of the installation rather than assuming what's underneath the old siding is sound.
Why Hire a Crew That Already Works Birch Bay
Direct waterfront exposure isn't uniform even within a small area — a wall a hundred feet from the water can take a noticeably different beating than one set back and buffered by trees or terrain. A crew that's installed siding across Birch Bay through multiple wet seasons has already seen which orientations need extra flashing attention, how much lap and clearance actually holds up against this specific wind pattern versus what a generic install guide assumes, and where a rainscreen gap earns its keep versus where it's optional. That judgment doesn't show up on a spec sheet, and it's the difference between a wall that still performs the same in fifteen years and one that's showing seam staining or soft trim by year five.
Cost Factors for Siding Installation in Birch Bay
Siding installation cost depends on the specific house, not a flat rate per square foot. A few factors move the number more than homeowners usually expect:
| Factor | Why It Matters |
|---|---|
| Existing wall condition | Moisture-softened sheathing or framing found during tear-off needs repair before new siding goes on |
| Direct water and wind exposure | Walls facing the bay directly may need additional flashing and fastening attention compared to sheltered walls |
| Trim and window count | More openings mean more flashing and finish detail around each one |
| Home size and wall complexity | Corners, dormers, and transitions add cuts and labor time |
| Site access | Waterfront lots with limited access or steep grades can add staging and setup time |
We walk the property and give you real numbers based on your specific home rather than a rough estimate off square footage alone — two homes of similar size in Birch Bay can land at very different totals depending on which of these factors apply.
Getting the Installation Right the First Time
Correcting a poorly installed siding job usually means pulling boards, not patching them, especially once moisture has already gotten behind the wall. In a climate that gives a wall this little room for error — salt air, wind-driven rain, and a moss season that runs most of the year — the planning and detail work at the start of a job matters as much as the installation itself. Getting it right the first time costs less than fixing it after a few wet seasons have already done damage underneath.
If you're planning a siding installation for a home in Birch Bay, we're glad to walk the property, talk through what your specific exposure requires, and give you a straightforward, no-pressure estimate. There's a form below — reach out and we'll set up a time to take a look.